Are you looking to customize your Elementor sticky header for maximum impact? With Elementor, you can easily create an eye-catching header that will draw visitors to your site and help you stand out from the competition.
In this article, we’ll discuss what an Elementor sticky header is, the benefits of using one, and how you can customize it to get the best results.
We’ll also provide tips for editing the header and footer in Elementor, as well as some of the best practices for using sticky headers for Elementor.
So, let’s start with our topic of how to customize your elementor sticky header:
What is an Elementor Sticky Header?
A sticky header is a type of header that remains visible at the top of a page while a user scrolls down the page. It’s often used to provide quick access to important pages or links, such as a contact page, product page, or blog page.
Elementor sticky headers are a great way to make sure your visitors can quickly access the most relevant pages on your website. Elementor also offers a variety of sticky header options. You can choose from a range of pre-made Elementor header designs, or you can customize your own.
You can also set the sticky header to appear on certain pages or only on specific devices. This gives you complete control over how your visitors experience your website.

Benefits of a Elementor Sticky Header
Sticky headers offer numerous benefits for Elementor users. For starters, they make it easier for visitors to navigate your website.
By keeping important links visible, users don’t have to scroll back to the top of the page to access them. This can help increase engagement and reduce bounce rates with your website.
Sticky headers also make it easier to promote your products and services. You can use them to add promotional banners or calls-to-action (CTAs), which will be visible as visitors scroll through your pages. This can help boost your conversions and increase sales.
Finally, sticky headers are a great way to make your website look more professional. By creating a header that stands out and is visually appealing, you can give your website a more polished look and feel.
Things You’ll Need
To follow this step-by-step tutorial blog, you will need –
- A WordPress site
- Elementor page builder
- Xpro Elementor Addon
- 5-10 minutes of your time.
Got everything? Great, you’re ready to go.
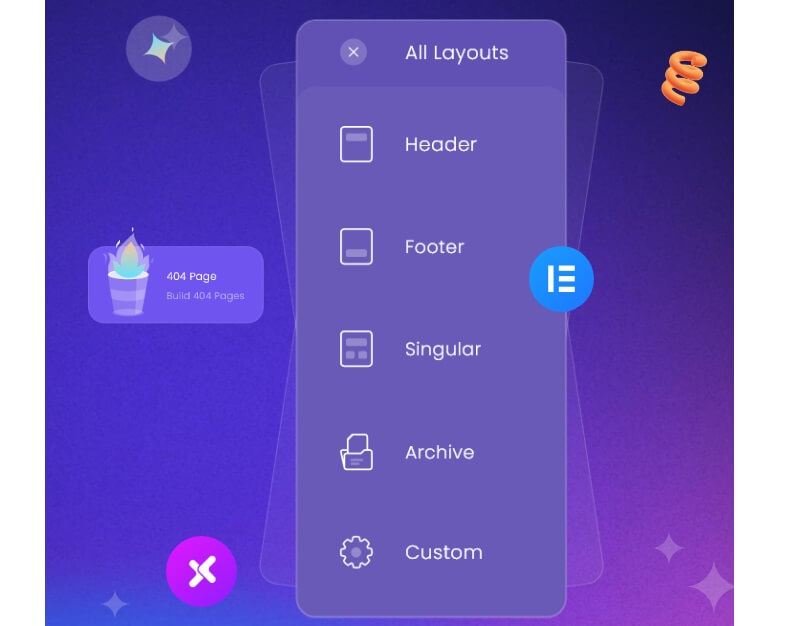
How to create a Free Elementor Sticky Header With Theme Builder
Creating a sticky header in Elementor is easy. All you have to do is select the “Sticky” option from the Elementor editor.
Step 1: Create a Sticky Header
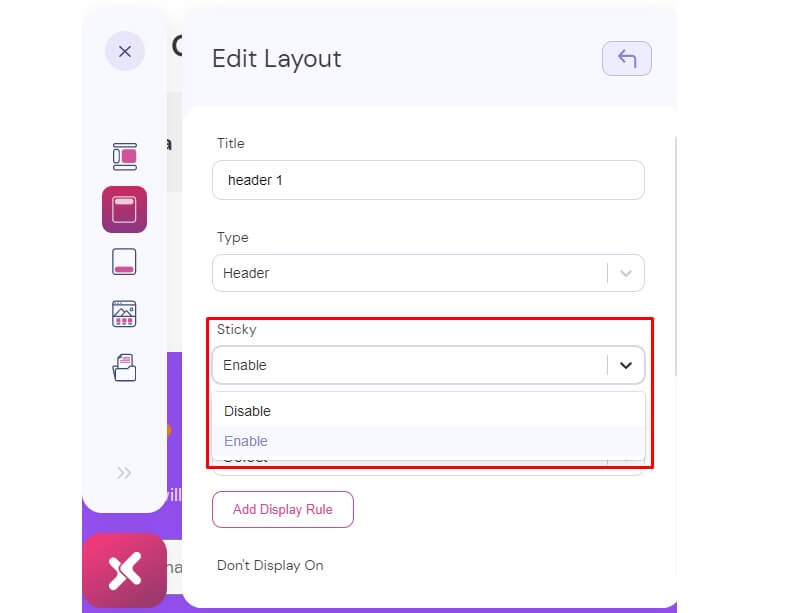
This will make your header stick to the top of the page as users scroll down. You can also choose to have the header only appear on certain devices, such as desktop or mobile, or on certain pages.
Step 2: Edit with Elementor

- Once you’ve enabled the sticky header, you can start customizing it.
- You can change the background color, font, font size, and other design elements to make it look exactly how you want.
- You can also add elements like logos, images, videos, and CTAs to make it more engaging and effective.
Step 3: Testing The Elementor Sticky Header
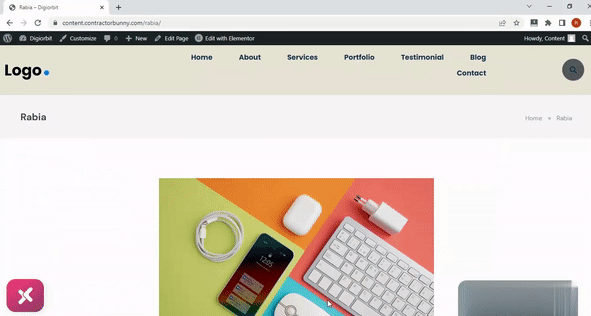
Here’s a step-by-step guide on how to create Elementor transparent headers using Elementor and an add-on plugin called Xpro Elementor Addons. Let’s check the results now.
To better understand transparency, you may add a few more sections under the header. The header section of this tutorial contains an image and an information box. You can see the final result here.
Tips for customizing your Elementor Sticky Header
When customizing your Elementor sticky header, there are a few tips to keep in mind.
- User-Friendly: First, make sure the header is easy to read and understand. Use a simple, readable font, and make sure there’s enough contrast between the text and the background.
- Get A Clear Brief: Second, use a logo or other visual elements to make your header stand out. This will help draw visitors’ attention to your header and make it more memorable.
- Call to Action: Third, include a CTA in your header to encourage visitors to take action. This could be a sign-up form, a product page link, or a link to a special offer.
- Responsive: Finally, make sure your header is optimized for all devices. Your header should look just as good on mobile devices as it does on desktops, so test it out on different devices before publishing it.
Get More Information Here: How To Create A Custom Sticky Header Using Xpro Elementor Theme Builder
Xpro Sticky Header for Elementor – Why Best Practices
When using sticky headers for Elementor, there are a few best practices to keep in mind.

First, make sure the header is easy to understand and read. Use a simple, readable font, and make sure there’s enough contrast between the text and the background.
Second, make sure the header is optimized for all devices. Your header should look just as good on mobile devices as it does on desktops, so test it out on different devices before publishing it.
Third, make sure the header includes a clear CTA. This will help encourage visitors to take action and help boost your conversions.
Finally, make sure your header is visually appealing. Use logos, images, and other visual elements to make it more engaging and memorable.
Xpro Elementor Header and Footer Blocks
Xpro Elementor Addons also offers a variety of header and footer blocks. These blocks are pre-made designs that you can customize to fit your needs. All you have to do is select the block you want to use, add your content, and make any necessary design changes.
The blocks are mobile-responsive, so you don’t have to worry about how they’ll look on different devices. And, they’re optimized for SEO, so your header and footer will be visible to search engines.
Final Words
By now, you have understood that Xpro Elementor sticky headers are a great way to make sure your visitors can quickly access the most relevant pages on your website. They can also help you promote your products and services, and make your website look more professional.
When creating a sticky header, make sure to use a simple, readable font, add visual elements to make the header stand out, and include a clear CTA. You can also use Elementor’s header and footer templates and blocks to quickly create a header or footer that looks great on any device.
By following these tips and best practices, you can create a sticky header that will make your website look professional and help you stand out from the competition. So, what are you waiting for? Start customizing your Elementor sticky header today and see the results for yourself!
Also, you can check: The Complete Guide To WordPress Custom Post Types.
Author Bio:
Rabia is a business content marketer. She has extensive experience in technical, research-based, and creative writing and is a voracious reader and a great writer. She enjoys reading and writing about technology and digital marketing and is a WordPress fanatic.
- Tags:
- elementor header
- elementor sticky header
- elementor sticky header transparent
- sticky header
- sticky header effects for elementor
- sticky header elementor