There’s a certain magic in the glow of an old CRT monitor, the mechanical click of a vintage keyboard, and the satisfying hum of a floppy drive spinning to life. For anyone who grew up in the early days of personal computing—or simply appreciates the ingenuity of classic technology—Restoring Retro Tech is like resurrecting a piece of history. These machines, once cutting-edge, now serve as both nostalgic time capsules and tangible lessons in how far we’ve come.
Whether you’re bringing a 1980s home computer like a Commodore 64 or Tandy 1000 back to life, or reviving a vintage Apple or IBM machine, restoration is a rewarding journey. It requires patience, curiosity, and a respect for the craftsmanship of early computing. This guide will walk you through the essential steps, tools, and tips for breathing new life into retro tech—while keeping its authenticity intact.
Before we dive into the how, it’s worth exploring the why. Why spend hours tinkering with outdated hardware when today’s smartphones could outpace an entire room full of 1980s computers? The answer lies in passion and preservation.
Vintage computers represent the dawn of the digital revolution. These machines helped launch careers, inspired creativity, and introduced millions to the concept of personal computing. Restoring them isn’t just about nostalgia—it’s about preserving history. Each computer tells a story, not just through its components but through the fingerprints of those who used it.
For some, restoration is a hobby; for others, it’s a mission to keep a piece of the past alive. And as interest in retro tech continues to grow, communities of enthusiasts around the world are keeping these relics running—often improving them with subtle modern upgrades that don’t compromise their original charm.
The first step in any restoration project is finding a computer worth restoring. Much like why choosing the right e-commerce hosting can boost your sales, selecting the right starting point can make all the difference in the success of your project. You can often find vintage hardware at garage sales, estate auctions, online marketplaces, or local electronics recyclers. Sometimes, the best finds come from unexpected places—an old family attic, a forgotten office basement, or a friend cleaning out storage.
When searching, look for systems that are mostly complete. Missing keys, corroded boards, or cracked cases can often be repaired, but having the original components gives you a head start. Popular restoration candidates include:
The retro computing market has grown rapidly, but many machines can still be found at reasonable prices, especially if they need a little love.
Once you’ve secured your vintage prize, it’s time for a careful inspection. Start by checking for obvious physical damage—cracks in the case, missing screws, or corrosion on the circuit boards. Avoid the temptation to plug it in right away; powering on an old machine that hasn’t been used in decades can cause more harm than good.
Look for the following warning signs:
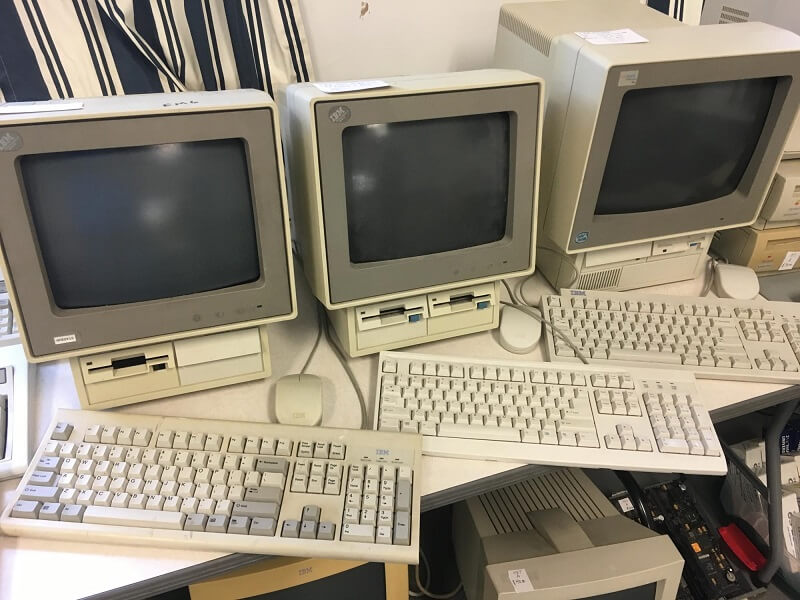
Document everything as you go. Many restorers take photos during the teardown process, both for reference and for sharing their journey. Even staged photos of vintage machines—like those often seen in stock photo collections—can help guide your reassembly later, especially if you’re dealing with unfamiliar layouts.
Cleaning is one of the most satisfying steps of the restoration process. Dust, grime, and residue accumulate over time, but with care, you can make old hardware shine again.
For the exterior:
For the interior:
When disassembling, work slowly and label screws or cables. Vintage machines weren’t standardized like modern PCs—each one is a puzzle with its own quirks.
Power supplies are among the most failure-prone parts of vintage computers. After decades, capacitors often dry out or leak, which can cause voltage instability or even component failure. Before applying power, inspect and, if necessary, replace these capacitors.
Many restorers choose to recap their systems—replacing all electrolytic capacitors with new ones of the same rating. Kits for popular models are readily available online, often tailored to specific machines.
If you’re not comfortable working with electrical components, consider using a modern replacement power supply. Several companies and hobbyists now manufacture safe, efficient replacements that fit inside vintage housings, maintaining authenticity while providing reliability.
After cleaning and repairs, it’s time for the moment of truth: powering it up. Use a current-limited power source or a surge-protected outlet for the first boot. Keep an eye (and ear) out for any strange sounds, smoke, or smells—signs that something still isn’t right.
If the machine doesn’t boot, don’t panic. Vintage computers often need patience. Check the basics: are chips seated correctly? Are connectors clean? Is the monitor compatible with the output? Many hobbyist forums can guide you through model-specific troubleshooting.
When the startup screen finally appears, that flickering green or amber glow feels like a victory. You’ve not just restored a machine—you’ve restored a moment in time.
Restoring a computer doesn’t stop at the main unit. Peripherals—keyboards, mice, drives, and monitors—complete the experience. Cleaning and refurbishing these items helps retain authenticity.
However, modern technology can enhance usability without ruining the vintage charm. Some popular upgrades include:
These modifications keep the spirit of the original machine alive while making it practical to use in today’s environment.
No restoration is complete without software. Fortunately, countless retro computing communities have worked tirelessly to preserve old operating systems, games, and utilities. From DOS applications to Amiga Workbench, there’s a vast library of classic software archived online.
Using emulation tools like WinImage or ADF Opus, you can transfer disk images onto physical media for authentic use. Some hobbyists even recreate full vintage setups—complete with period-correct accessories, furniture, and décor—to relive the golden age of computing.
If you’re documenting your restoration, consider photographing or scanning your work. High-quality reference images, whether your own or well-curated stock photos of similar hardware, can help future restorers identify parts, layouts, and details that might otherwise be lost.
One of the most rewarding aspects of restoring vintage computers is the community. Online forums, Discord channels, and YouTube creators have built a thriving ecosystem of enthusiasts who share knowledge, trade parts, and celebrate successes.
Groups like Vintage Computer Federation, Retro Computing Roundtable, and countless others host events and exhibitions where collectors show off their working systems. These gatherings keep the culture alive and inspire newcomers to pick up a soldering iron and start restoring.
Many restorers document their work online, turning each project into a story—a living chronicle of technology’s evolution. Their passion ensures that the artistry of early computing won’t be forgotten.
Restoring vintage computers isn’t just a hobby—it’s a form of historical preservation. These machines represent an era when computing was hands-on, when innovation was visible and tangible. Every blinking cursor and chirping drive reminds us of the creativity that built the digital age.
Modern technology is sleek and seamless, but something gets lost in that perfection. Old computers, with their quirks and constraints, invite experimentation. They remind us that computing once felt personal—something you could take apart, understand, and make your own.
Bringing a piece of retro tech back to life is like restoring a classic car: it’s not about practicality; it’s about passion, craftsmanship, and connection. And when you hear that familiar startup chime or see an ancient logo flicker onto the screen, you’re reminded that progress doesn’t erase the past—it builds on it.
Restoring retro computers is equal parts technical challenge and nostalgic adventure. It connects us to the pioneers of the digital age and teaches patience in a world that moves too fast. Whether you’re re-capping a motherboard, cleaning a floppy drive, or loading DOS from an SD card adapter, each project tells a story of creativity, resilience, and discovery.
And perhaps the best part is this: you don’t just end up with a working computer—you end up with a working memory. A machine that once changed the world, now reborn by your hands, ready to tell its story once more.
With our extensive collection of elements, creating and customizing layouts becomes
second nature. Forget about coding and enjoy our themes.