After activating Photo Gallery Builder, you will find a Photo Gallery section inside your WP Dashboard menu items. Go to Photo Gallery > Add New Photos to create a gallery for your photo gallery. To create a Gallery, check the screenshot below and follow these points:
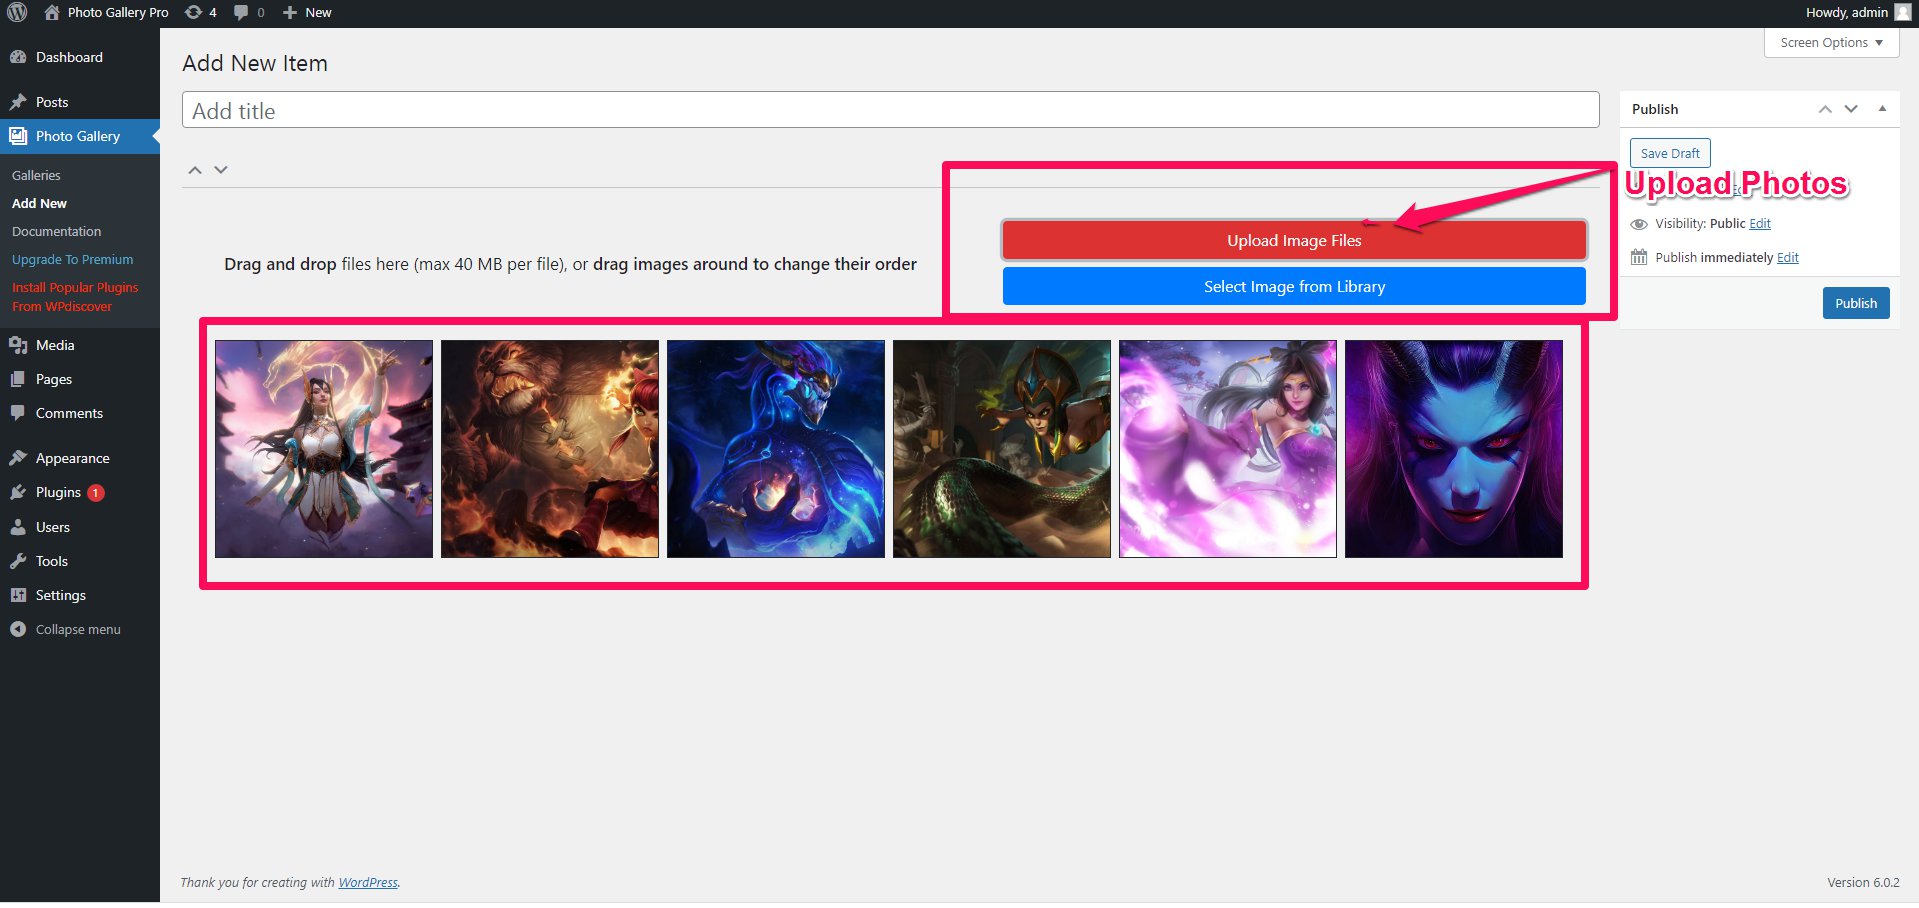
- You can upload photos to click on the Upload Image file button and select many images for your Photo Gallery.
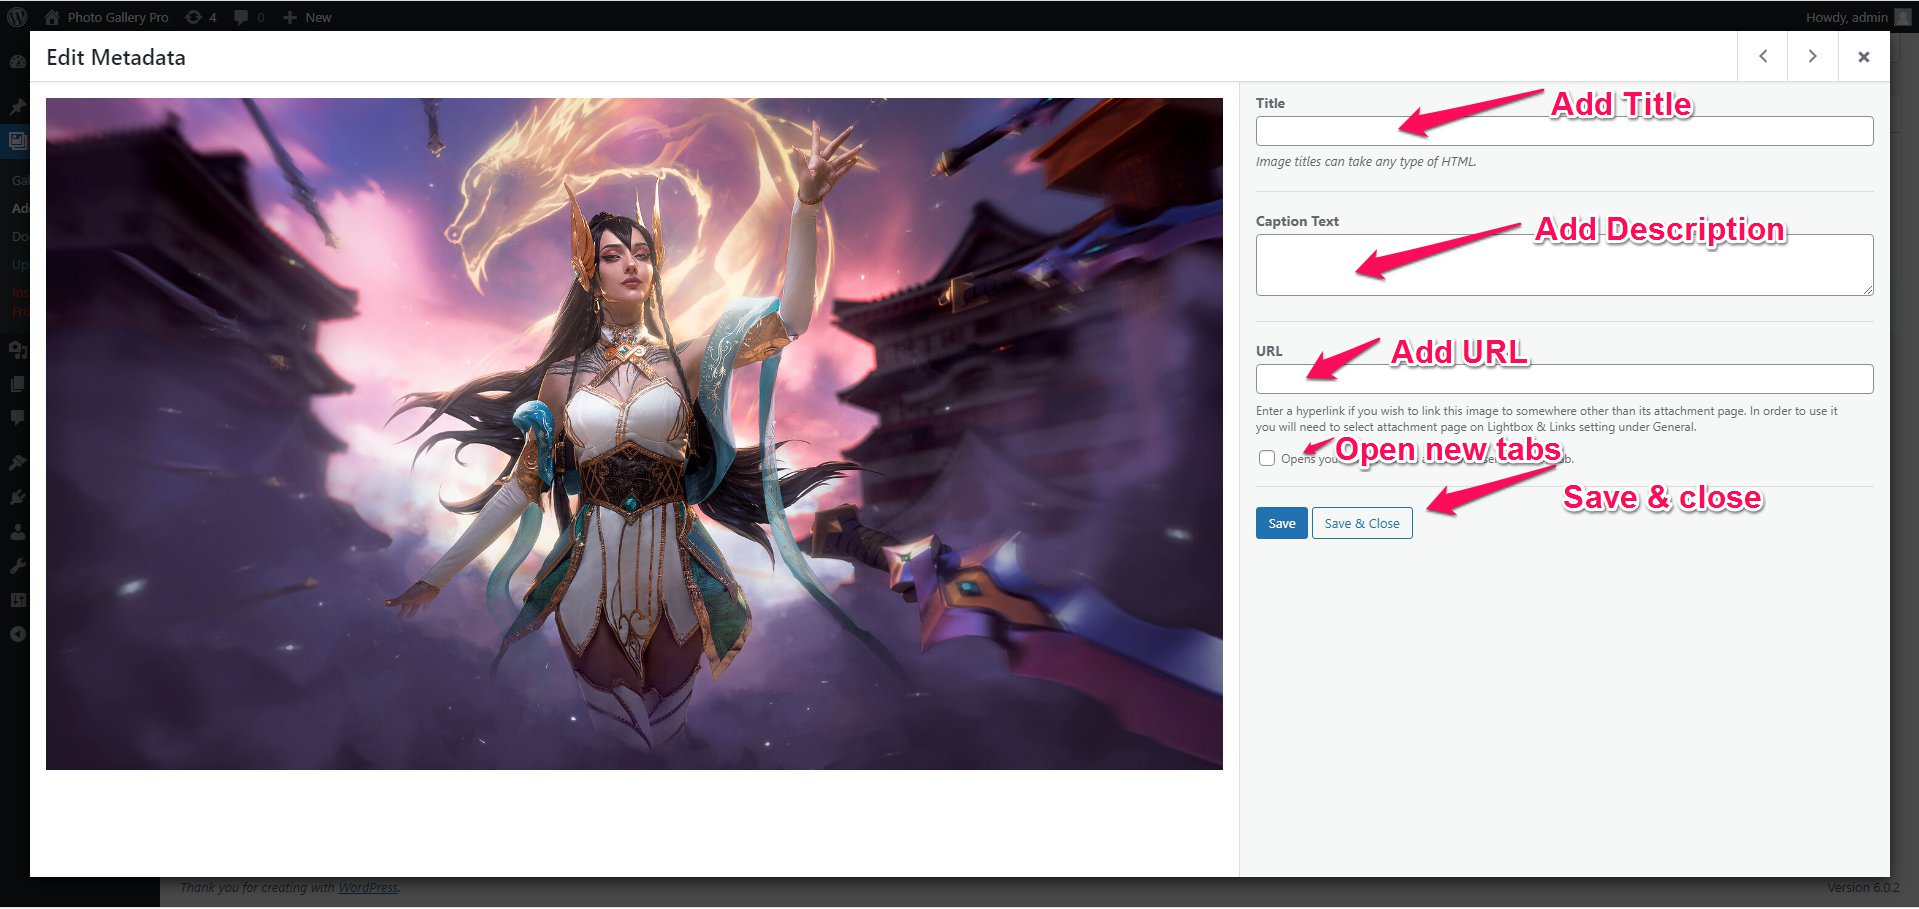
- You can add Title, Description, and link for your photo gallery.
Gallery Settings:-
- You can select different Template for every Photo Gallery There is 6 template for your Photo Gallery design and Publish.
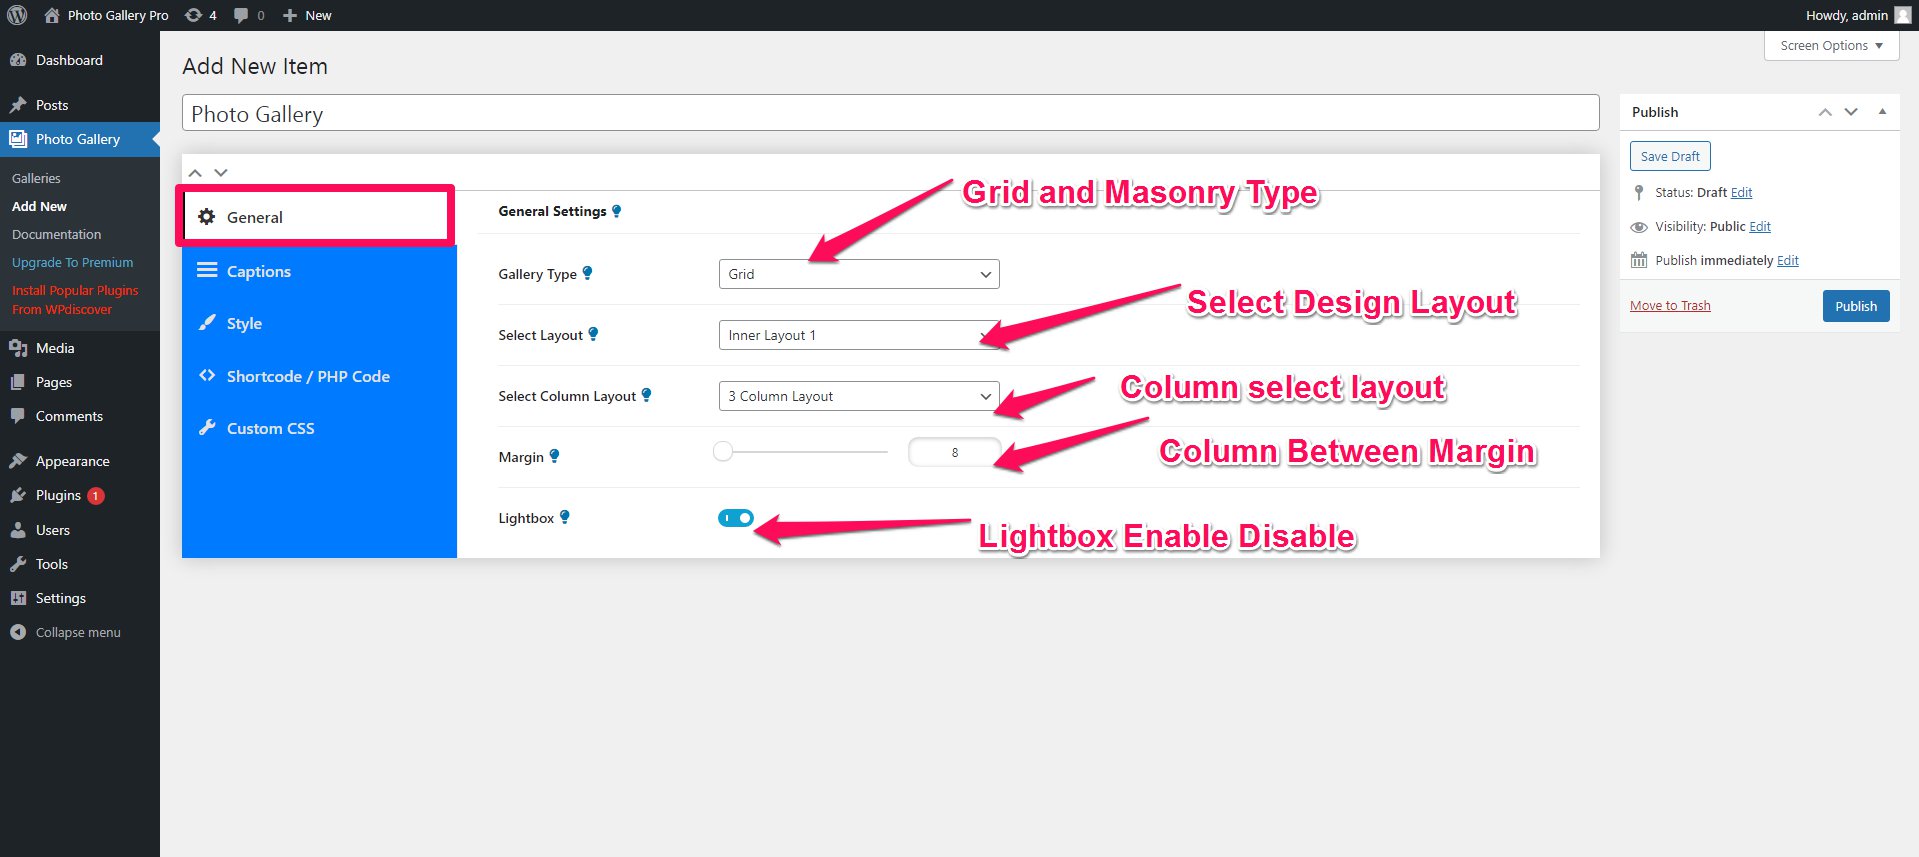
- You can select Gallery type grid or masonry photo gallery.
- You can select a column layout for your photo gallery.
- You can give a
- margin between columns.
You can enable and disable your photo gallery
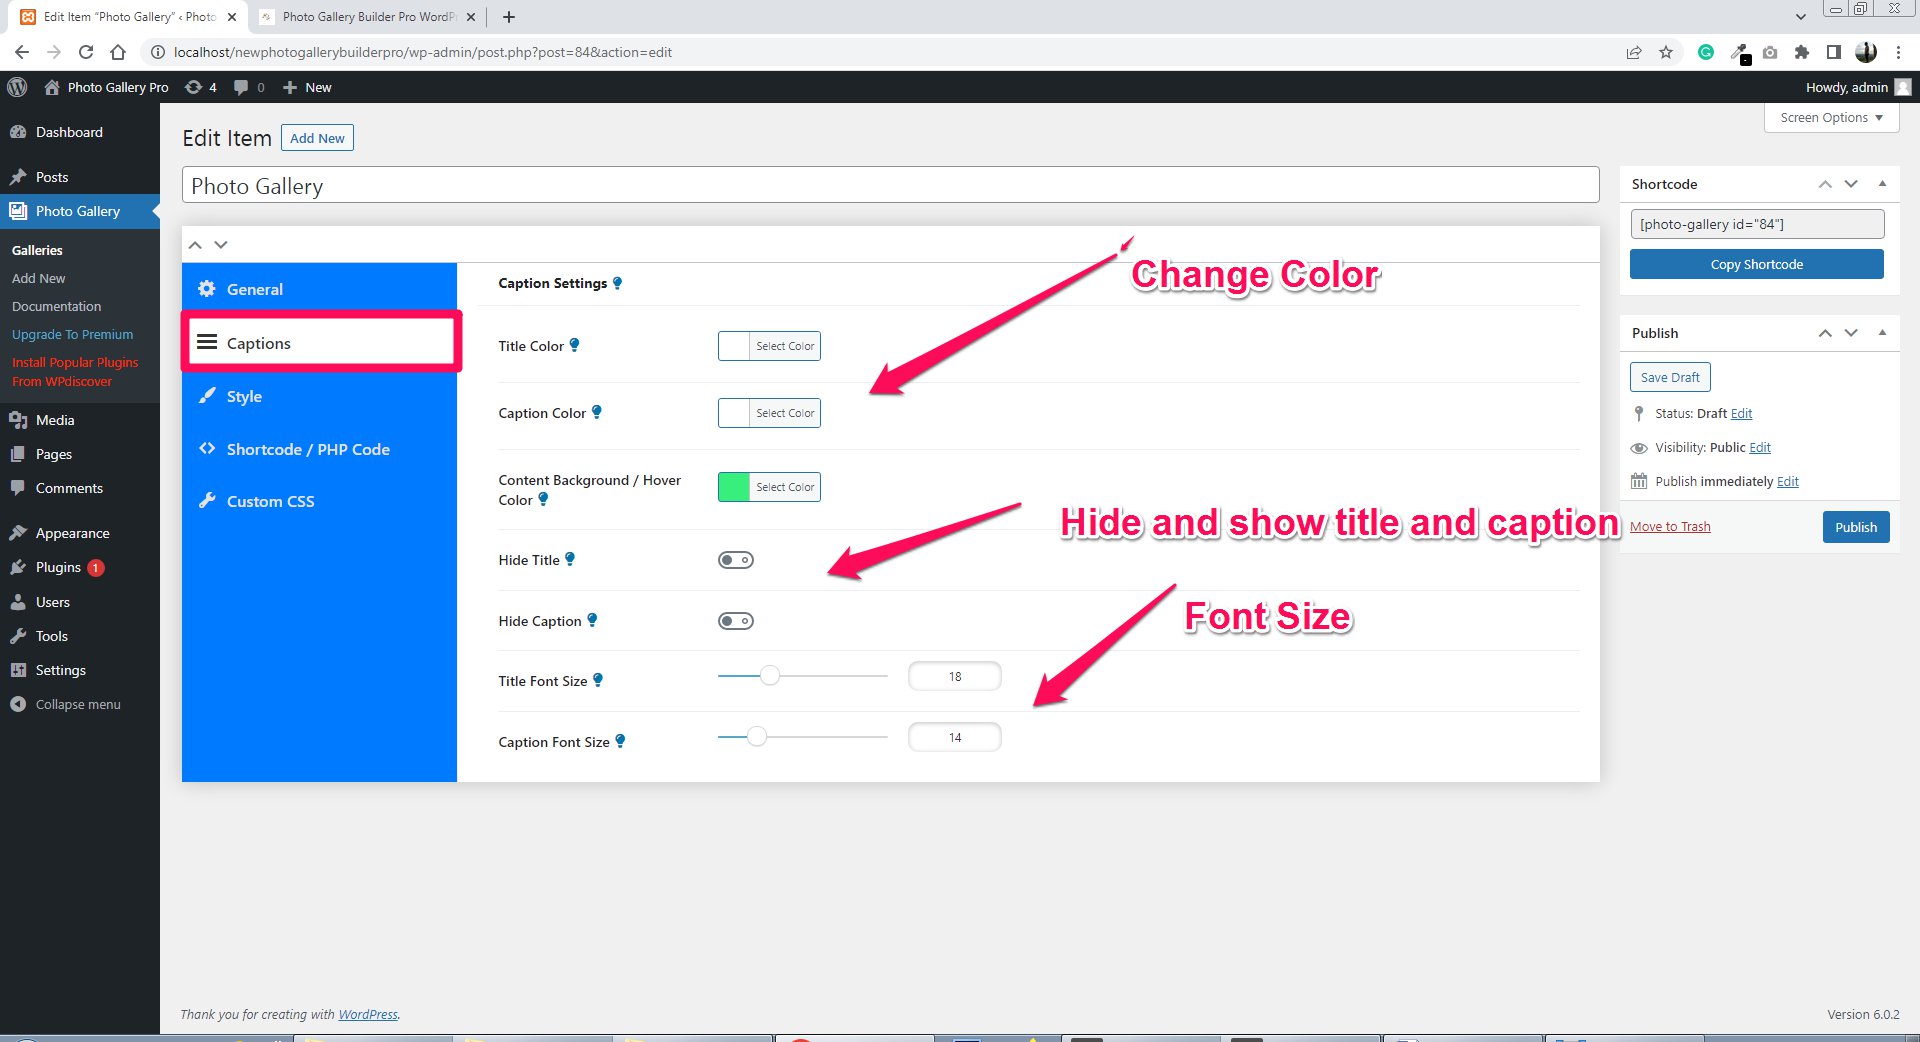
- You can change Title, Captions and content color.
- You can change their font size.
- you can hide and show the title and description.
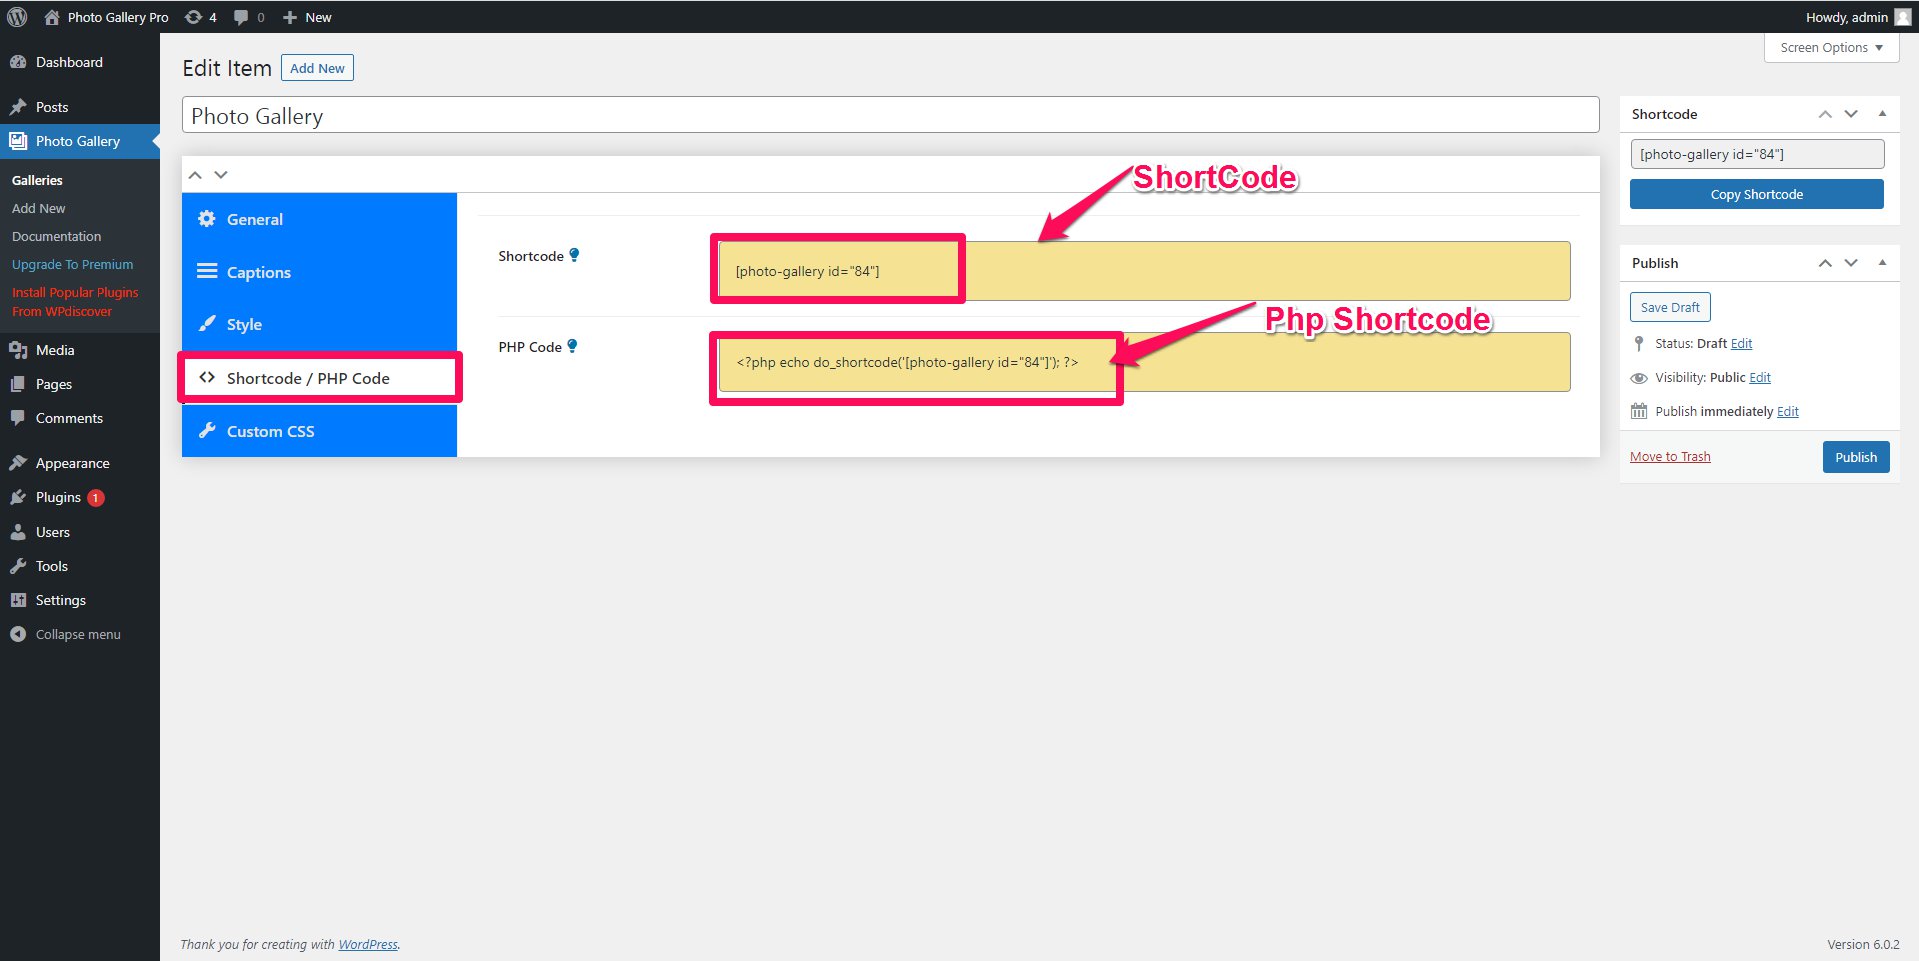
- You can use plugin shortcode to show your Photo Gallery on website pages. Just copy the shortcode and paste it on the page.
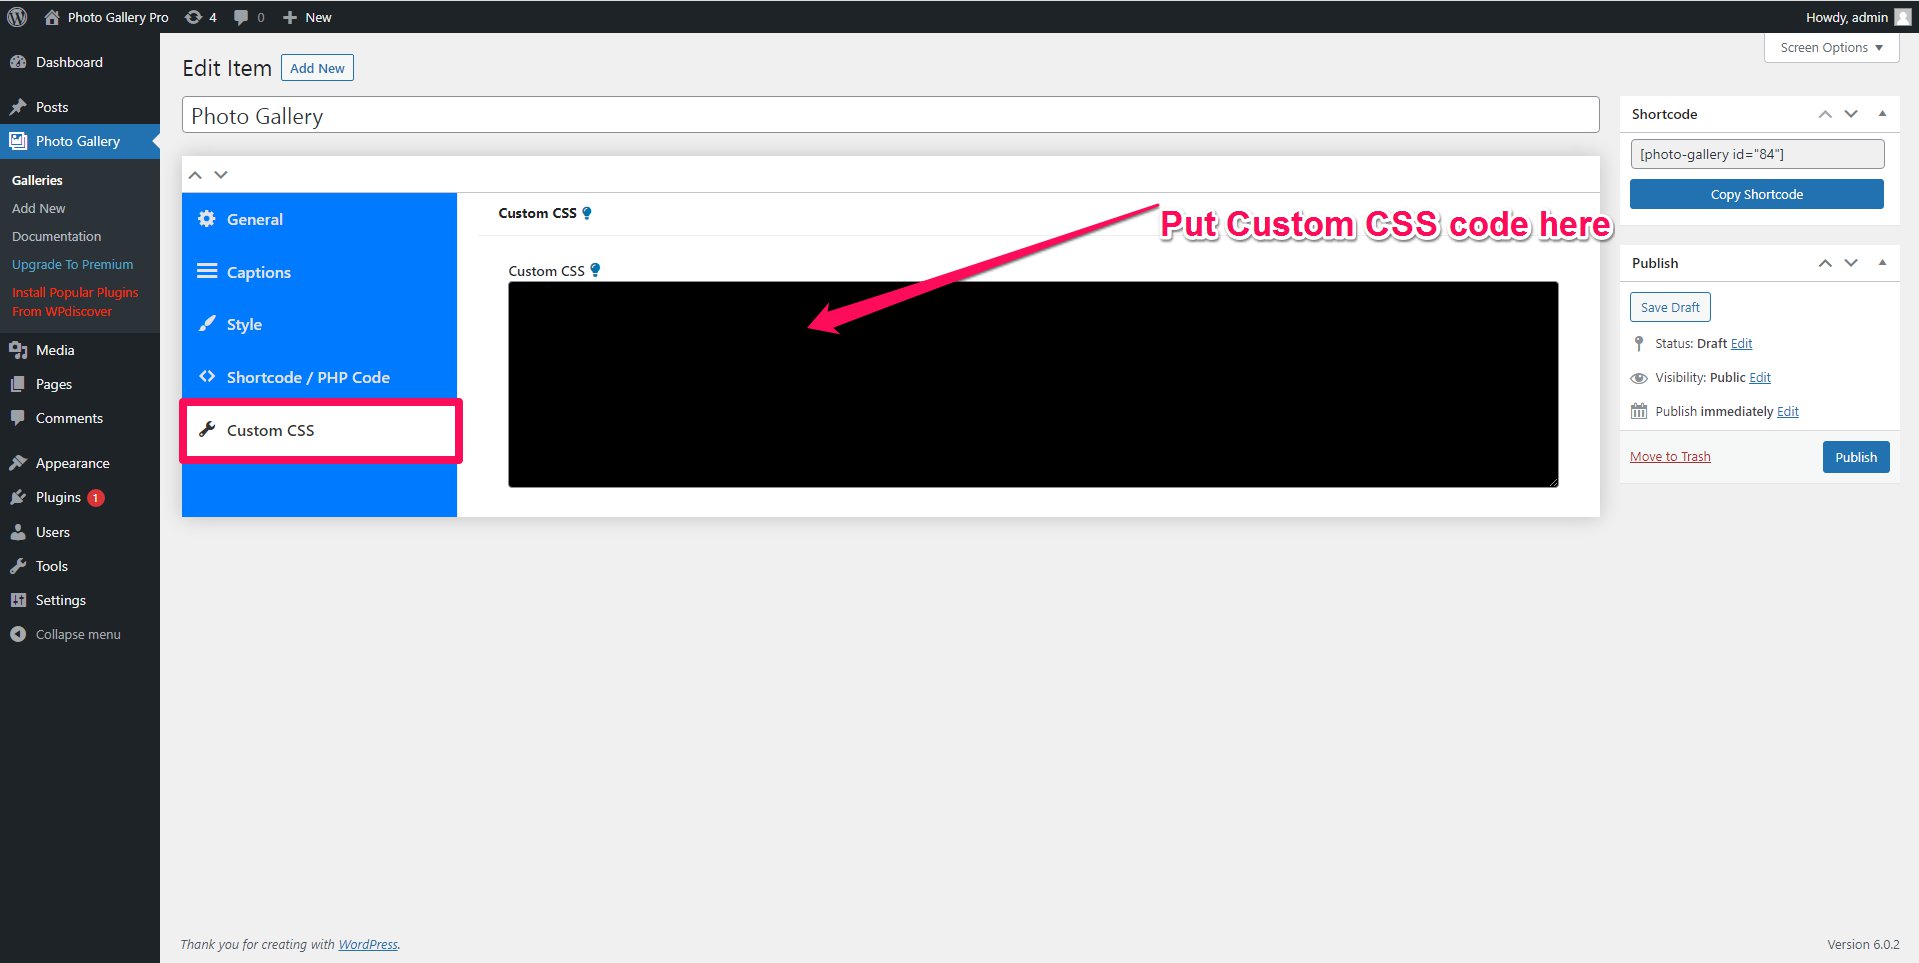
- You can use Custom CSS if you want extra design then you write your CSS code here.