- Log in to the WordPress Admin panel.
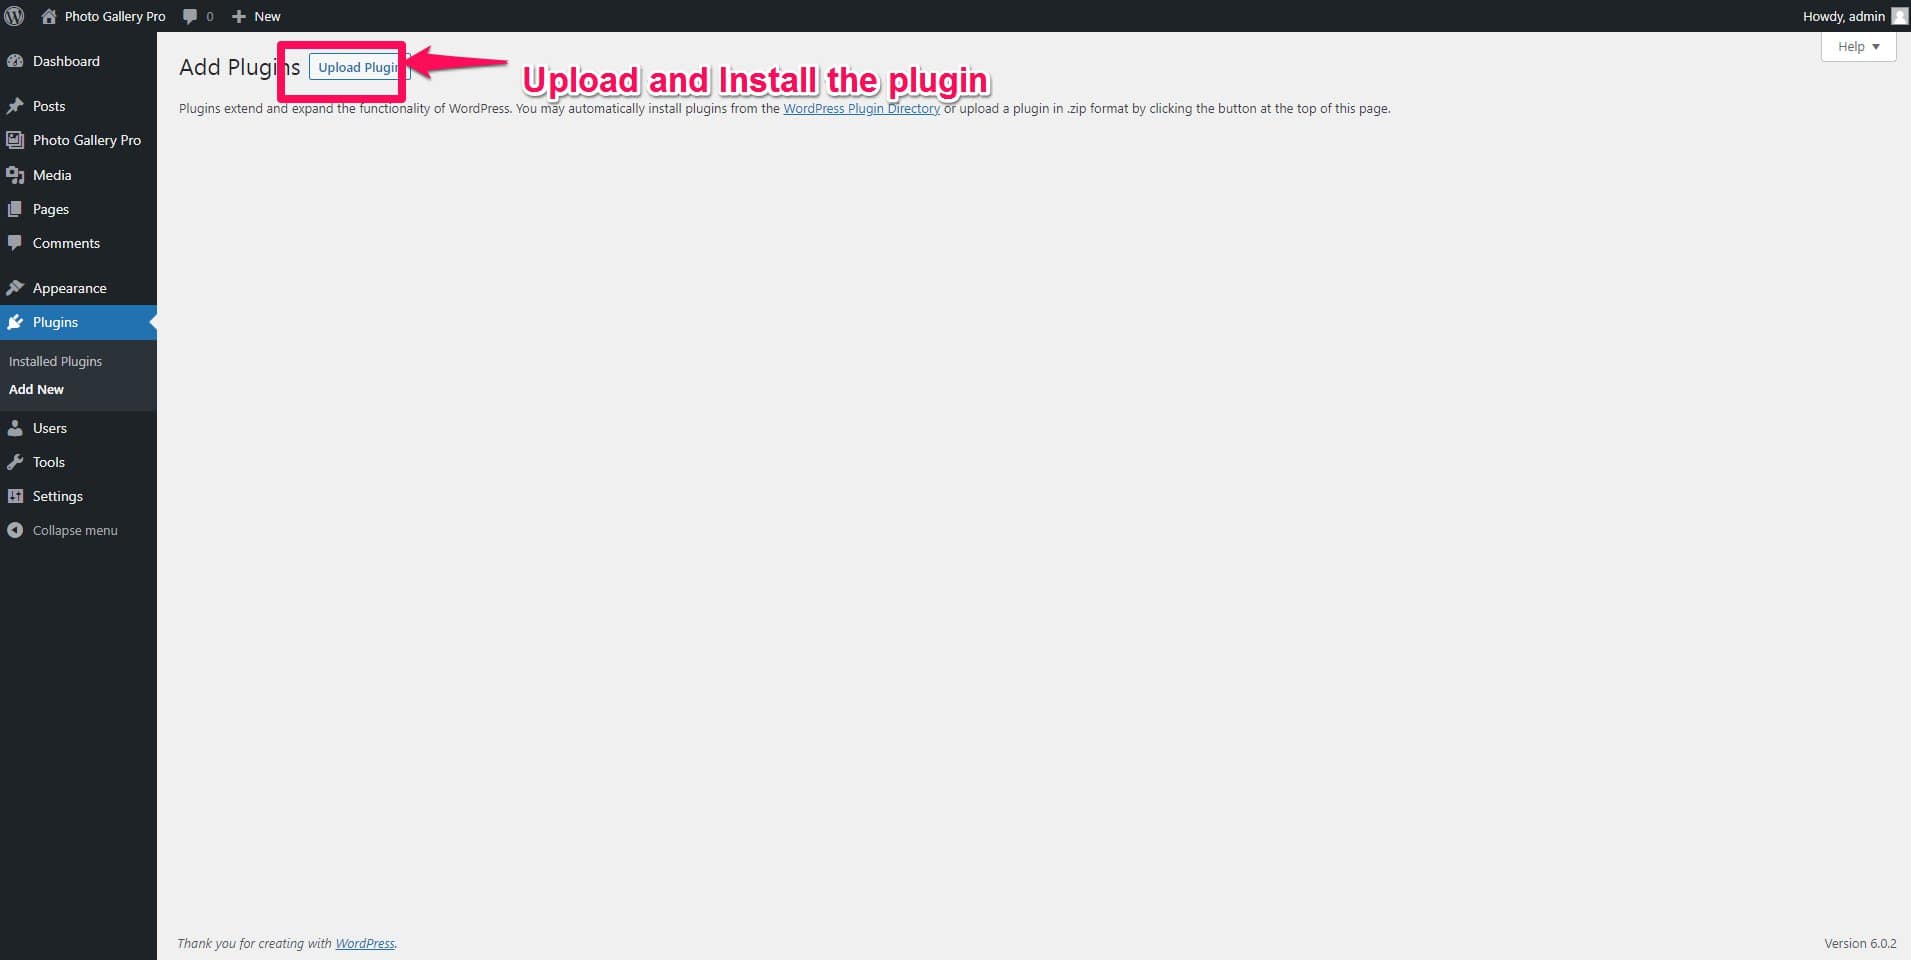
- From the left menu panel go to Plugins >> Add New >> Upload to install the plugin.
- Click
- Click Install Now & activate the plugin after installation.
Once the plugin is installed and activated you will find a menu named “Photo Gallery Pro” in the left menu bar of the admin menu. Once you click on that menu, you will go to the plugin’s listing page and you will also see the add new button, once you click on that button you will go to the Photo Gallery Pro page where you can create Photo Gallery.